Your Browser Is No Longer Supported. Please use an alternative browser to improve your experience and security.
Express Your Personality with Hand Lettering
Hand lettering continues to grow in popularity among artists and hobbyists alike. A beautiful expression of personality, this fantastic freehand art form has shown up on wedding invitations, bullet journals, wall art and restaurant menus to name a few. The lettering tips that follow can help you make your fonts unique and colorful – just like you!
What’s the plan: Do some research to find designs you like. Browse the Paper Mate Instagram feed – there is no shortage of hand-lettered inspiration! Mine your feed to stimulate your imagination and grab screenshots for reference.
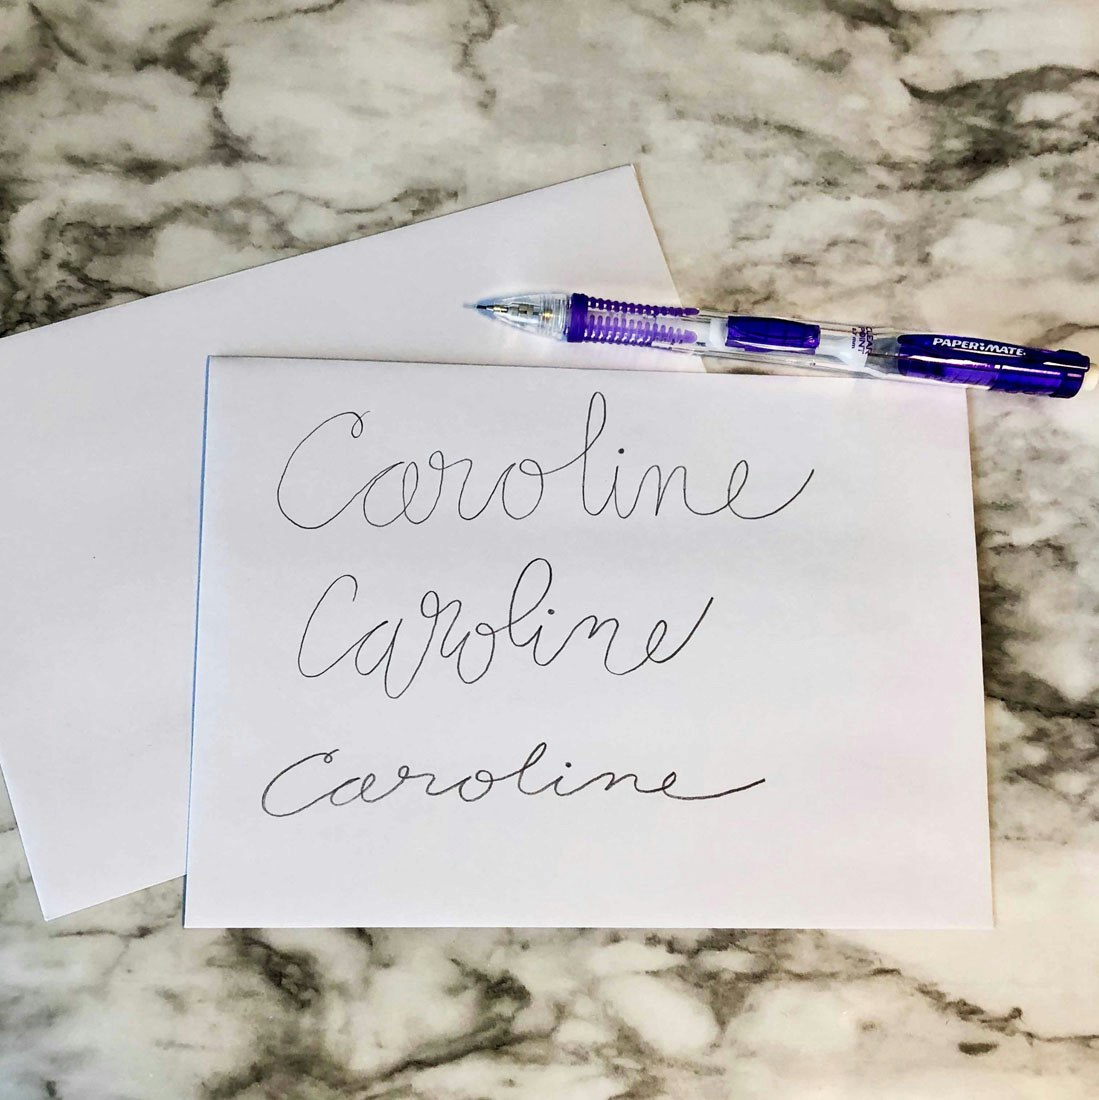
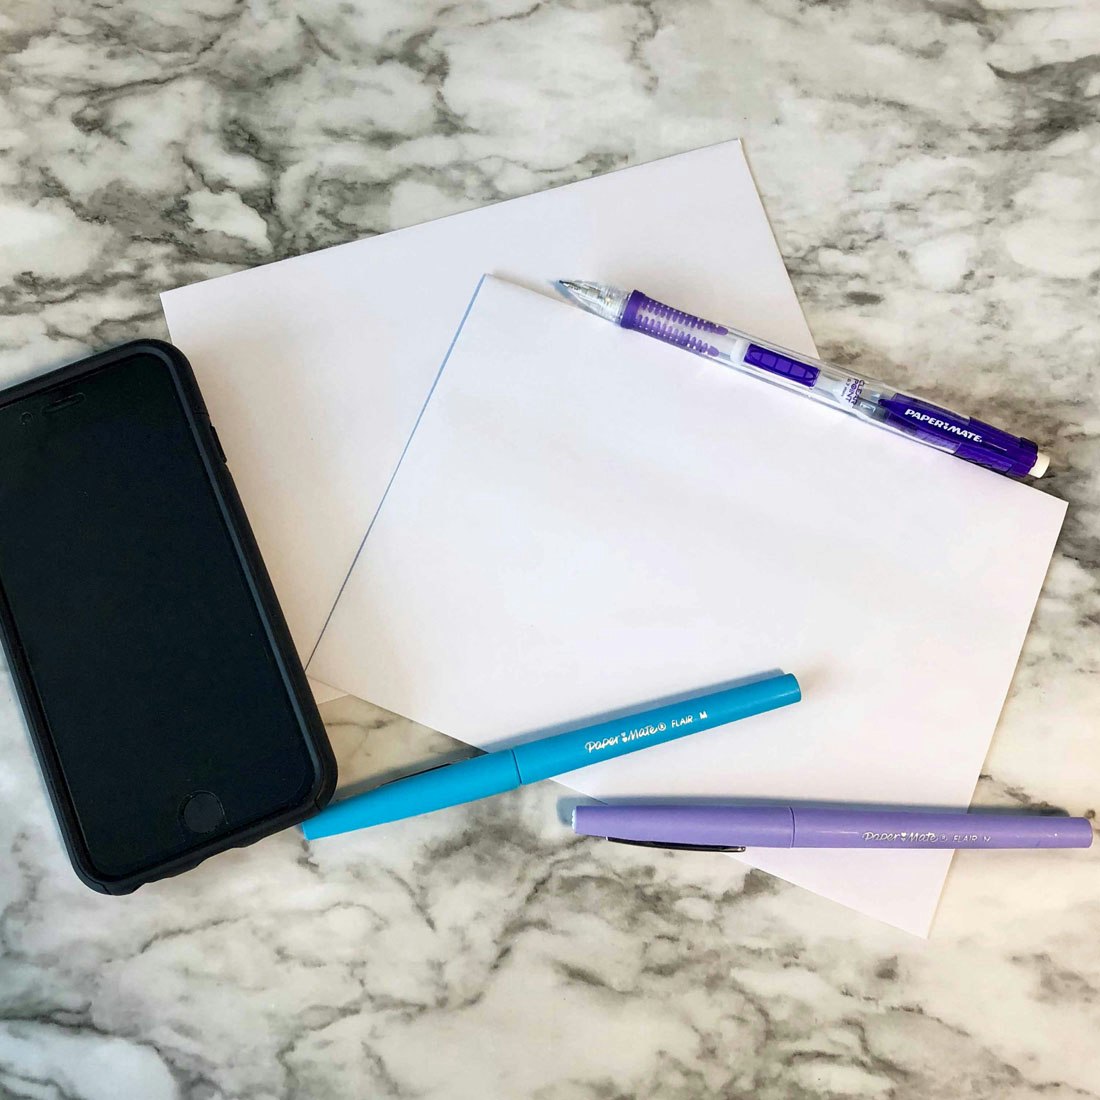
Practice makes you better: Grab a Paper Mate Mirado Woodcase Pencil or Paper Mate Clearpoint Pencil and start with something familiar – like your name. Practice to get the feel and to find your flow. Repeat several times until you find a level of comfort with the strokes and shapes.
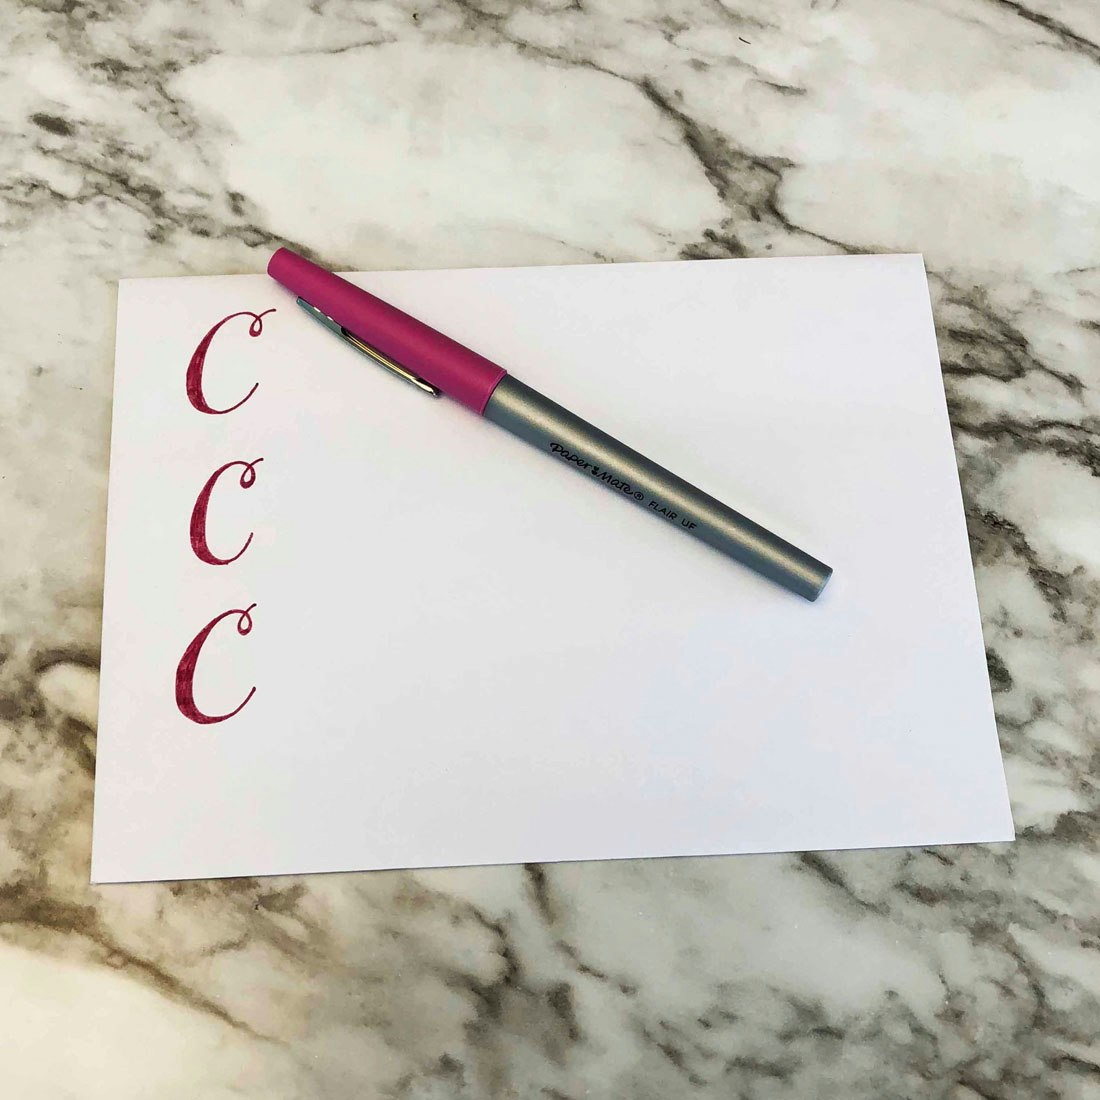
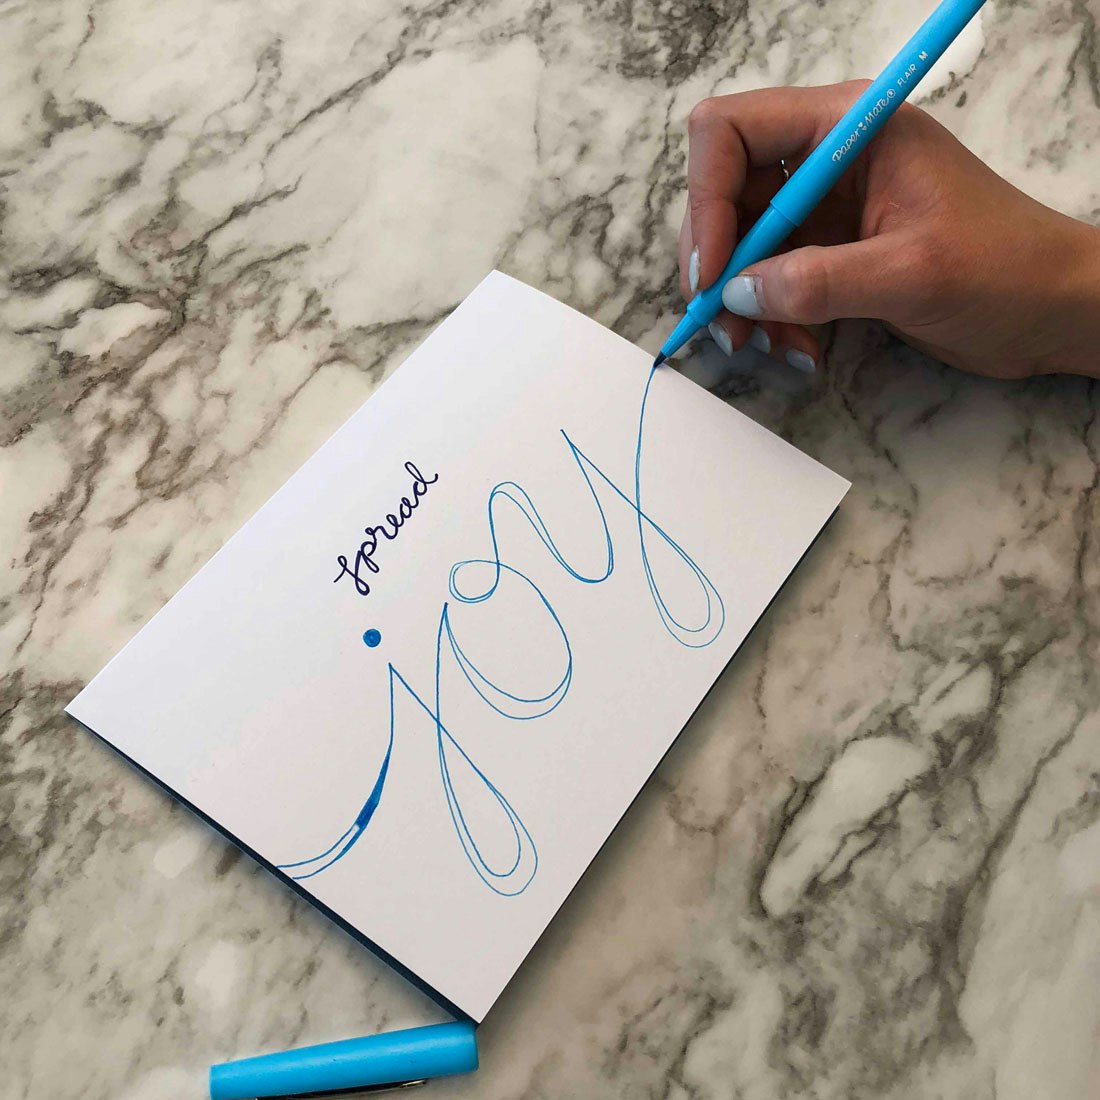
Play it again: Using your Paper Mate Flair Pen, try duplicating some of the techniques you practiced in the earlier stages. Remember that this is a learning process. Don’t get discouraged if it takes you a few attempts to get it right. It takes time to hone your hand lettering skills.
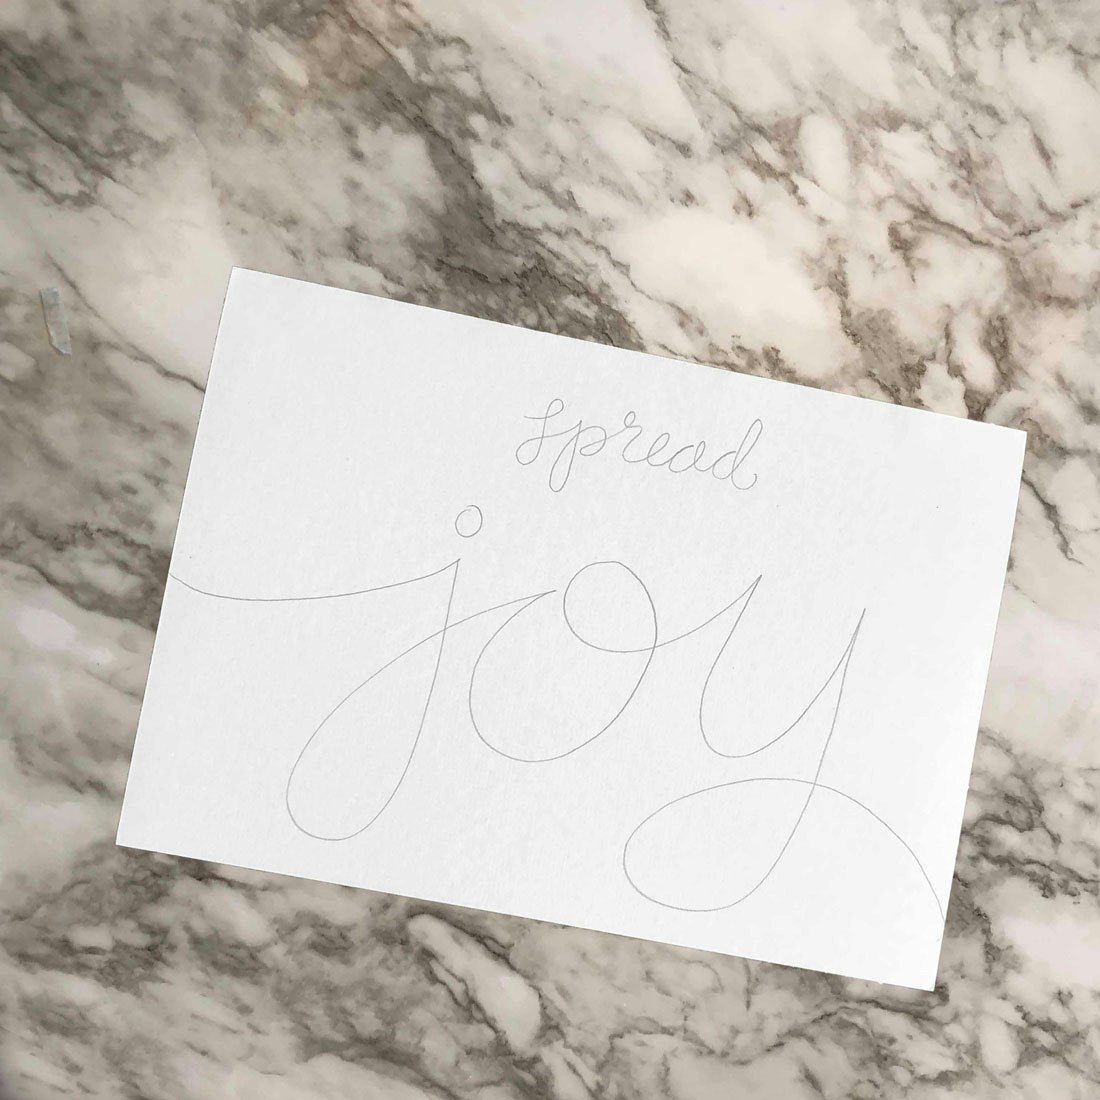
(Almost) Ready for primetime: Move on to your project! Use your pencil to sketch a few small-scale versions of your own designs. Once you have determined a favorite, move on to the full-sized piece.
Game time: Go big. Using your thumbnail sketch, block out the edges of the design using the outside corner letters as points of reference. Trace out the letters, then add more weight once they're in position. No need to fill in fully just yet.
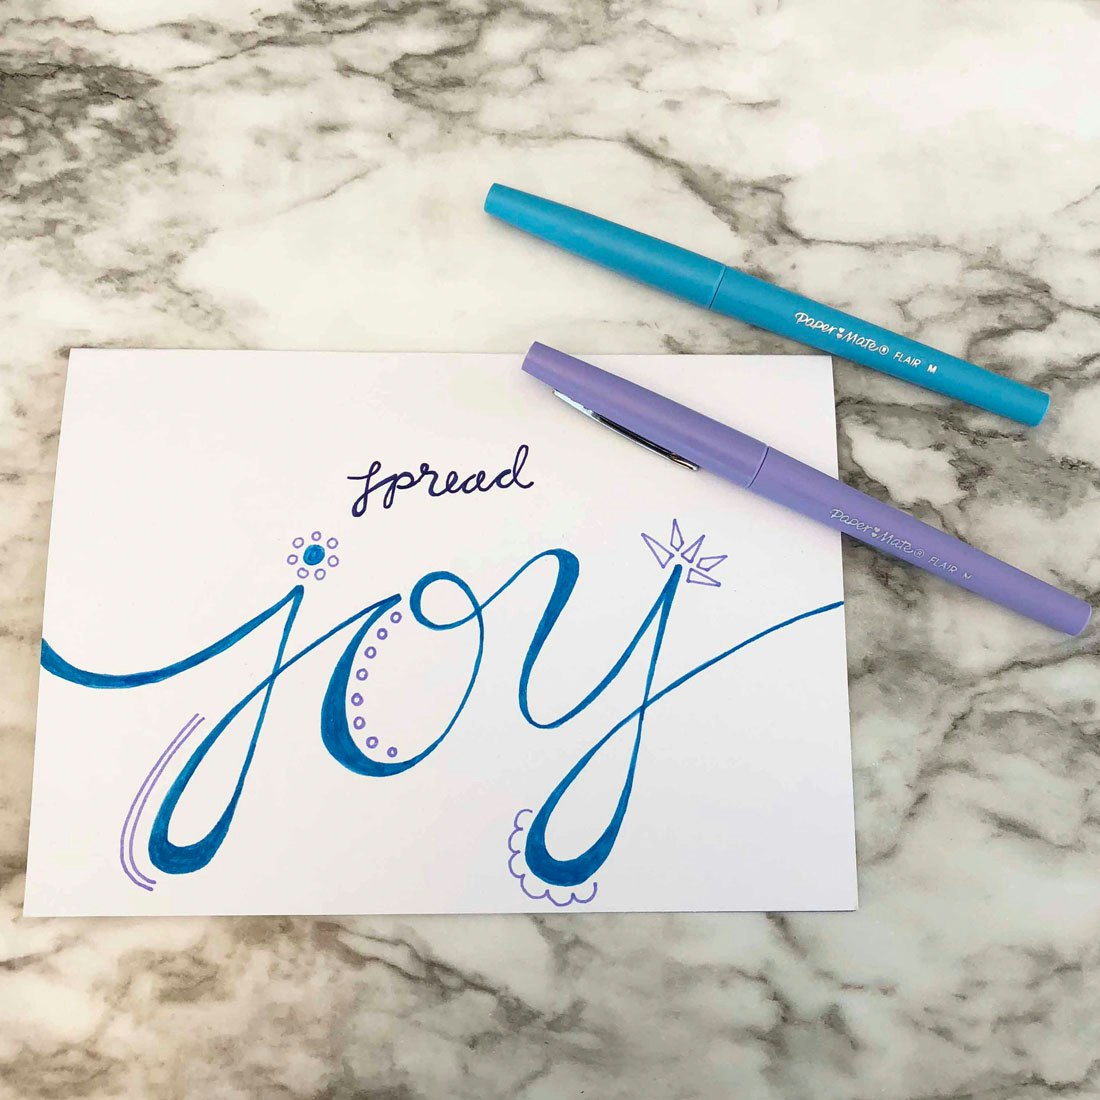
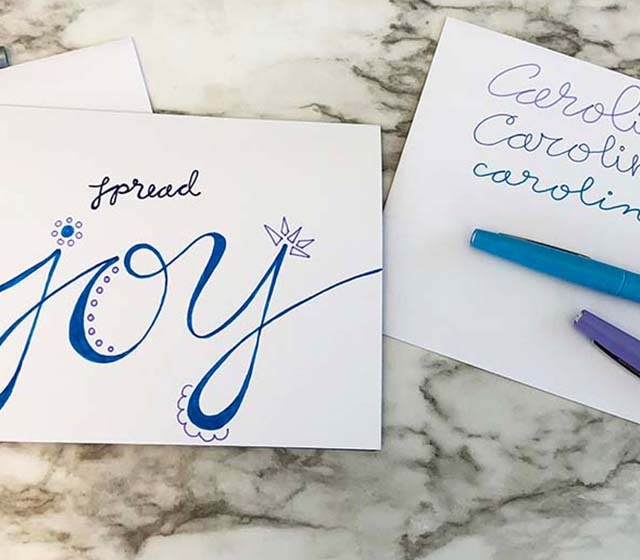
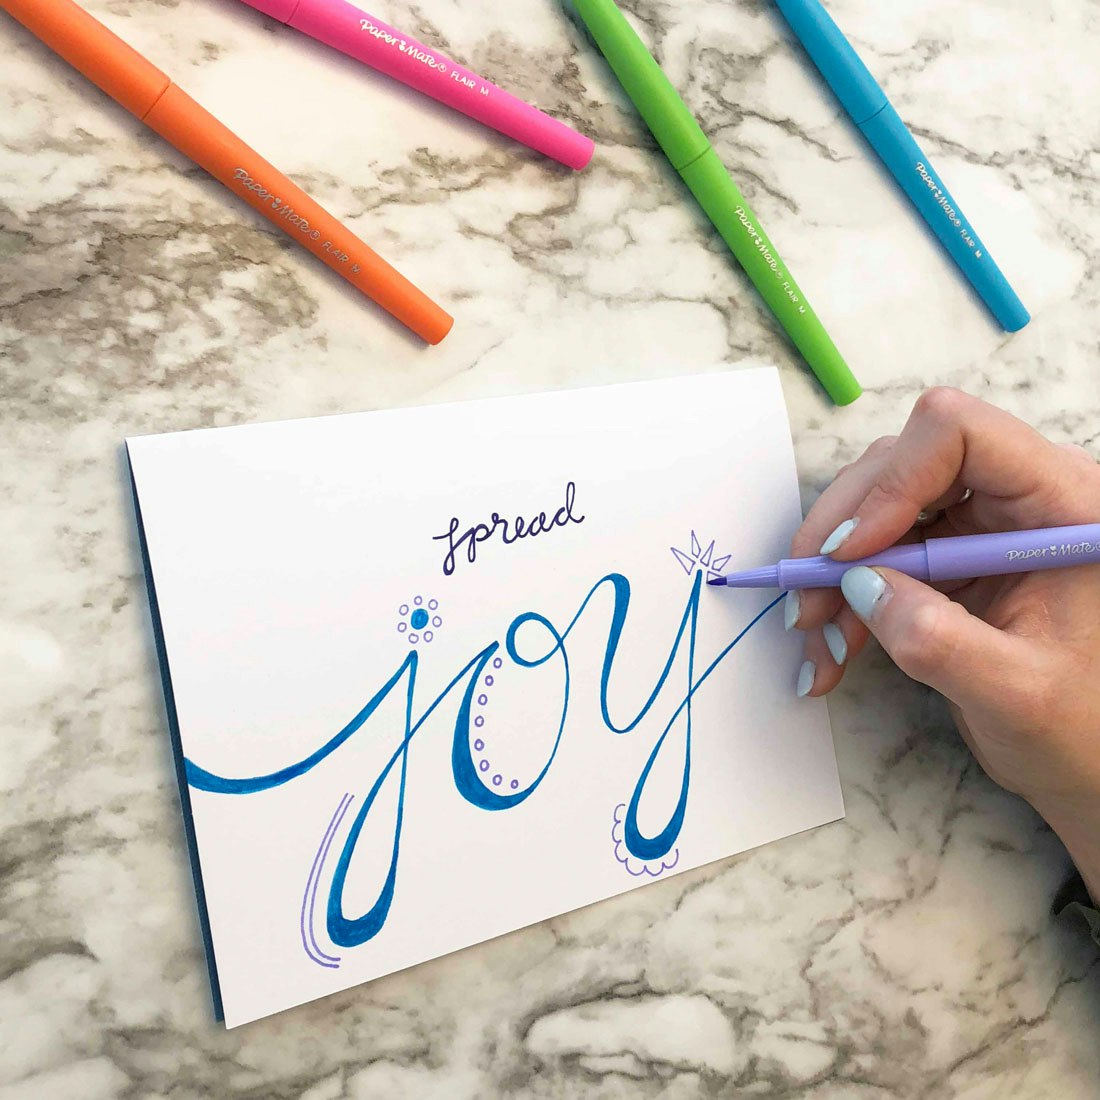
Take it to the next level: Using the 32 vivid colors of Paper Mate Flair Pen, add decorative flourishes to your design: floral wreaths, arrows, loops to letters, or other designs. Look back to your screenshots for inspiration, and then add your own touches and twists.
Practice: Once you’ve nailed your first design, try again! The more you practice, the better your techniques will become. Make sure to share your designs with #PaperMate!